PolyGel is more flexible than acrylic, stronger than hard gel, and lighter than both. Even being flexible arch still can be pinched. Cures in LED for 1 min and UV lamp for 2min. Does not burn or heat at all!!! It does not run and gives possibilitu to sculpture all 5 nails at the time. Surfase selfleveles. Easy to work with for beginners and experienced nail techs.
Here is step by step instruction:
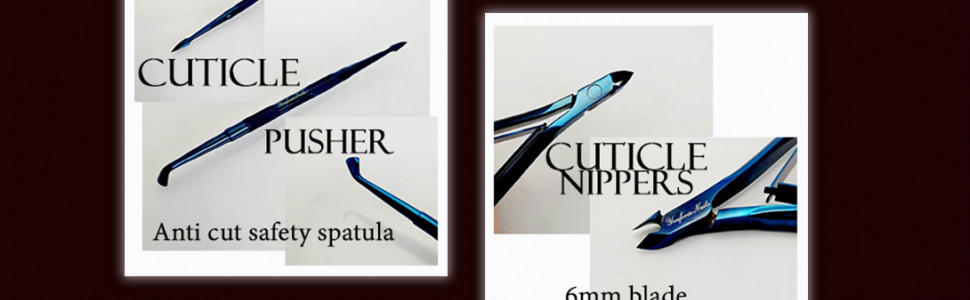
1. Apply cuticle remover and give it a min to soak, then push the cuticle down using cuticle pusher or orange wooden stick. Make sure you don't leave any skin bits on the nail plate as it may cause gel lifting later.
2. Buff the nail plate to remove shine.
3. Remove the dust using dust brush.
4. Apply Fresher to dehydrate the nail plate. Non of gels would be friendly with moist or grease.
5. Apply Strong/Gentle primer. Now nails are ready for base application.
6. Apply base coat in thin even layer avoiding the skin. Touching the skin also can cause product lifting. Cure in the lamp for 1 min.
7. Using tips, apply Polygel and also cure each nail for 1 min.
8. File false nails to a desired shape and remove dust using dust brush.
9. Apply Youforianails gel-paint or gel-polish colour. Cure in the lamp for 1 min. the list as it is not
10. Apply top coat to seal the colour and cure for 1 min. Remove sticky residue layer if any, using lint free wipes and finishing wipe.
Steps to Polygel application:
1. Scweeze a ball of gel out of the tube and use your spatula to apply it in the tip.
2. Deep your brush into finishing wipe ( you can fill small dispenser or small jar) and tap it on the tissue to get rid of excess of moist. Spread polygel evently in the tip.
3. Start applying pressure from cuticle zone to free edge of the nail (from skin towards the direction of growth). Turn over, smooth the surface underneath using the brush, remove the excess of gel on the sides if necessary. Now cure for 1 min.
P.S. Every time when brush gets sticky, clean it by dipping into finish wipe and tapping on the tissue. When applying gel, don't forget about apex (stress zone). It has to be thick enough to avoid breaking.
I wish you all the best with your work.
Please note: our products are for professional use only.


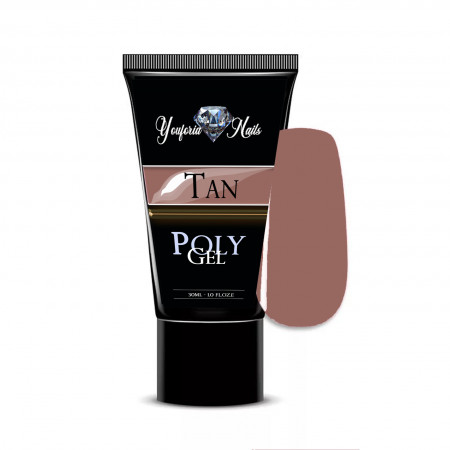 Polygel Tan 30ml
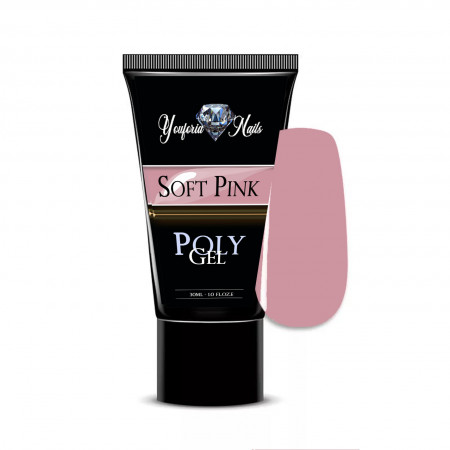 Polygel Soft Pink 30ml
 Polygel Rose 30ml
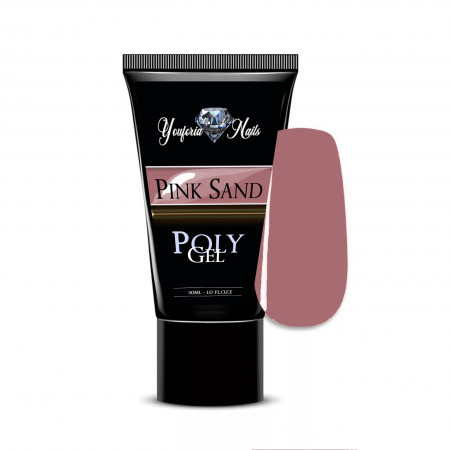 Polygel Pink Sand 30ml
 Polygel Pink 30ml
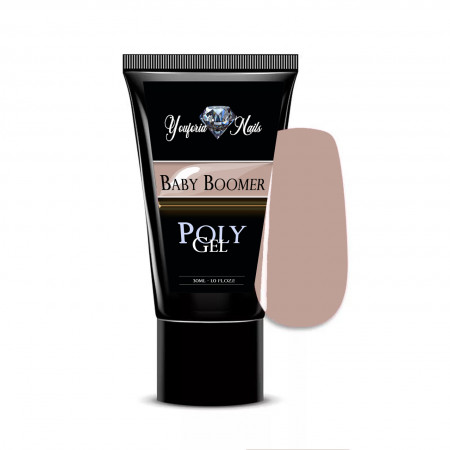 Polygel Babyboomer 30ml 30ml
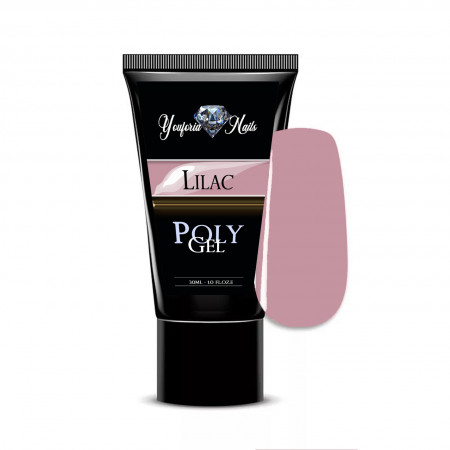 Polygel Lilac 30ml
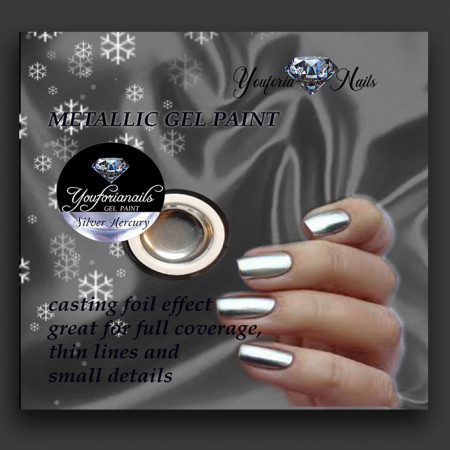 Silver Mercury nail art gel paint 5ml
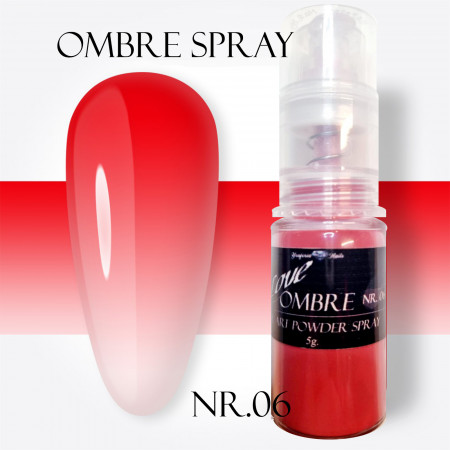
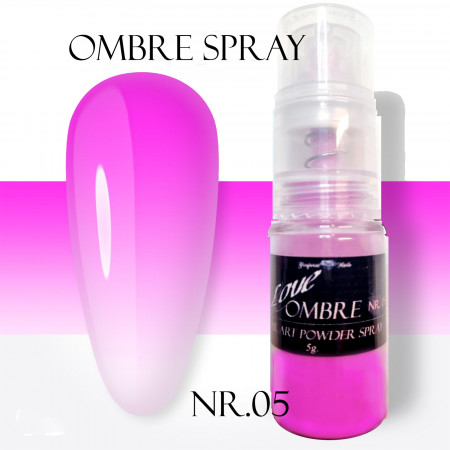
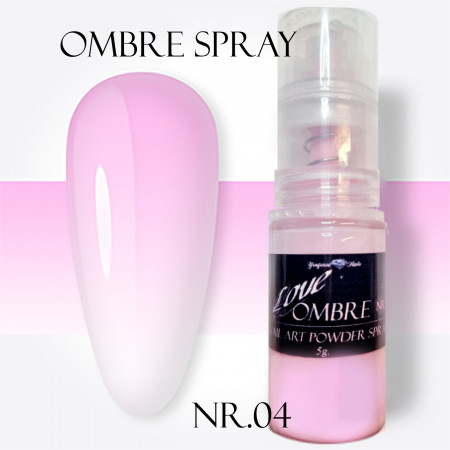
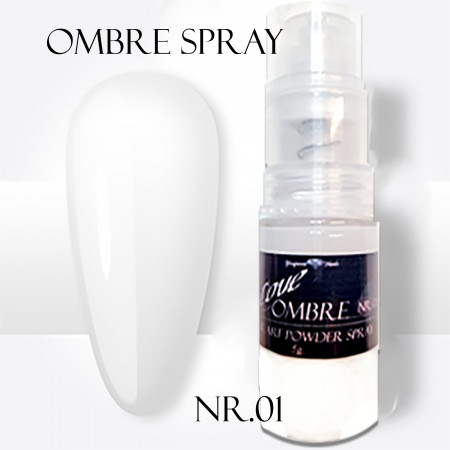 Ombre Spray 01 White 5g